Full Instructions
In this article, you will learn how to use a water level. When it comes to home improvement projects, ensuring that your work is accurate and level is crucial.
One way to do this is by using a water level. This is a tool that allows you to see if your work is level by comparing the surface of the water to a perpendicular line.
I will also provide some tips for getting the most out of this handy tool.
What is a Water Level?
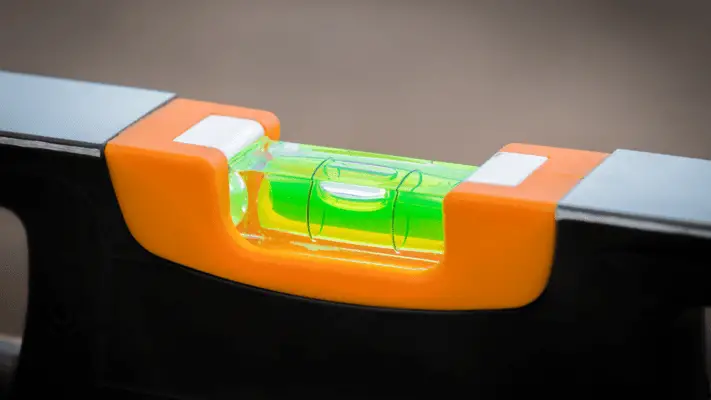
The main principle is that – Water seeks its own level.
A water level is a tool that makes it easy to ensure that your project is perfectly level even over long distances and around corners.
You may have heard of this type of level but not know what it is, so here is some basic background information.
A water level is a tool used to determine the relative height of two points. It consists of a tube filled with water, with one end open and the other sealed. The open end is placed against one point, and the sealed end is held at the same level as the open end.
The water in the tube will then settle to the same level as the point at which it is sealed, allowing the user to determine the height difference between the two points. Water levels are commonly used in construction and surveying, as they provide an accurate and easy-to-use way to measure height differences.
This tool has been used for thousands of years, possibly even in ancient Egypt during the construction of the pyramids.
The water level is a very simple device made easily from cheap materials some of which you may have in your garden shed.
This device is very easy to make, but it is also very accurate. It consists of a U-shaped tube with a small hole in the bottom. This hole is placed in a container of water, and as the level of the water changes, so does the height of the water in the tube.
The great thing about this device is that it is very easy to use and extremely accurate and can be easily adapted to different situations
How to Use a Water Level.
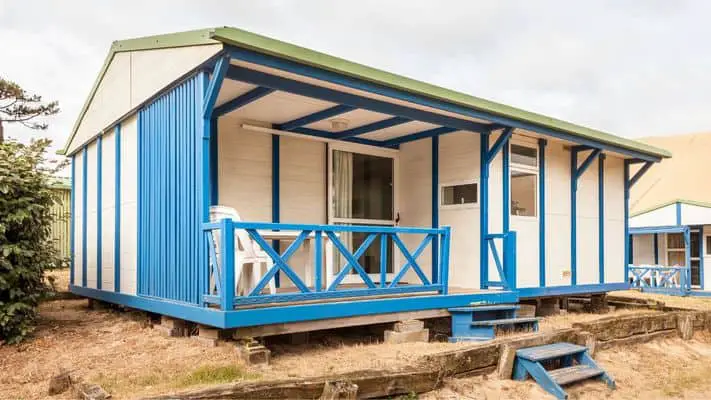
Water levels are a great way to find the level between two or more items at distances up to 100 feet. This means that it is very useful for situations like leveling the piers on a mobile home. It could also be used to level the tops of fence posts on sloping ground.
A water level is an essential tool for anyone who needs to level two or more objects at a distance. Simply align the tube so that the water is level with the object you are trying to level. You can use a water level to level the piers on a mobile home or to level the tops of fence posts on sloping ground. With a little practice, you will be able to quickly and easily find the level between two objects.
Water levels are very cheap and easy to make from everyday objects that you most likely already have in your home. If you haven’t previously read our article, “how to make a water level”, click the link to be taken to that page first.
Why Would you Need a Water Level?
Small torpedo levels, 4ft levels and lasers are very cheap to buy from the big box stores these days, so why would you need a water level? There are just many situations where a water level is better suited.
- It is best for your projects where it is important to maintain a specified height over a large distance.
- Water is particularly good for gauging the level of large structures such as mobile homes.
- Water always finds its own level and so it is an excellent choice.
- When the length of a traditional torpedo level will not span the distance between the points to be leveled.
- Obstructions will block light or laser Laser beams.
This will generally be anything over 4 feet. I have found from my own experience that lasers are not that good outside in the daylight. I tried one once to get a level line on the bottom of a wall to hang a siding starter strip, but I couldn’t see the beam.
Simple Construction Projects that could benefit from a Water Level.
- Foundation blocks
- Posts on a deck
- Fence posts
- Ledger boards
- Making steps and stairs
- Siding starter strips
- Paint lines
- Mobile home piers
- Raised gardens and patios
Water Leveling a Mobile Home.
Our setup contractors use water levels to level doublewide mobile homes with great accuracy over distances of up to 100 feet. I have heard of contractors using laser devices but I have had no luck with this personally. There are just too many obstacles hanging under a mobile home to make this possible.
Water Leveling a Mobile Home is an essential part of the process when it comes to double-wide mobile homes. This is done in order to create a level base for your home, which is essential for both the structural integrity of your home and the safety of those living inside of it. Water leveling is a simple but vital process that our team has perfected, and we are confident in our ability to provide you with a level mobile home that you can be proud of.
Assemble the Water Level Components.
The components you’ll need are easy to find and relatively inexpensive.
- A 100ft length of clear plastic vinyl tubing 1/4″ to 3/8″ diameter.
- One gallon bottle of water with the plastic top on.
- A small magnet for use on mobile homes or a short furring strip.
- Three small zip ties or duct tape.
Take the unopened gallon bottle of water, cut two lines in the top of the cap to form a cross, and push one end of the plastic tube through the cut. Continue to push the tube into the water all the way to the bottom of the bottle.
If the water bottle has a handle the tubbing can be passed through the inside of the handle for a more secure hold.
Unwind and walk the tube out straight attaching the magnet or wooden strip to the other end. Make sure that there are no bends or kinks in the line
Run the Water Through the Tubing.
Raise the height of the water bottle around 4 feet and place it on a ledge or step. Go to the other end of the tube and gently suck on the tube to cause a vacuum siphoning the water along the tube.
Once the water starts to run, it should continue smoothly running to the other end of the tube. Raise the far end of the tubing higher than the bottle to stop the water from flowing out completely.
You should now have a tube full of water with no bubbles. One end of the tube is open and the other end is submerged in the water bottle.
So set up the water inside the bottle to the desired height and the fluid inside the tubing will move to find its own level. As the tube fills up check that there are no air bubbles in the line. Air bubbles in the tube prevent the water from indicating the correct level.
Final Adjustments.
Connect the magnet or the wooden stake to the end of the tubing and keep the tube end above the level of the water in the jug. The magnet can be used when leveling mobile homes or trailers. Attach the magnet to the I beam and allow the tube to drop below.
Outside in daylight with the sun shining it is really easy to see the level in the tube. However, when the sun drops or you are working under a structure it becomes difficult to be precise. For this reason, we usually add a few drops of food coloring to the end of the tube for contrast.
Tip: It is not necessary to add dye to all of the water on the bottle just the far end of the tube.
Set up the Water Level for the Construction Project.
For instance, to level the piers for a large shed that you are building.
To ensure that the corner piers are level. Set the 1st corner pier of the shed and then fill the water in the bottle to the same height. Take the open end of the level to the next corner and stack the pier until it is at the same height. In fact, where ever you locate the water bottle on the job site, the water in the other end of the tube will be at an equal height.
You could use this type of fluid level to judge the height of your deck posts to assure the finished deck surface will be plumb and level.
Best Practices.
Any time that the free end of the level is moved from one location to another or moved below the level in the bottle, cover the end of the tube with a finger or a plug. Failure to do this will allow air into the tubing and the formation of bubbles.
After you move locations always check for bubbles. Small bubbles can be removed by holding the end of the pipe with one hand whilst flicking the tube with the fingers of the other hand.
Care and Storage of your Water Level.
When you have finished with the leveling project, empty the water from the tubing before storing it away in a dry shaded place. This is really important because leaving the water in the tube will lead to the formation of bubbles and the need to empty the water from the tubing.
The tubing can be rolled up and placed inside a 5-gallon bucket to keep it in good condition ready for use.
Finally.
A water level is an essential tool for any construction job. It ensures accuracy and consistency when transferring measurements from one point to another. When used correctly, it can help you save time and money on your project.
Make sure you have the right tools for the job and take the time to learn how to use them correctly. You’ll be glad you did.
Good luck with your project and if you have any questions please call me on 863 808 2200 or leave a message on the contact page.
Click Here To Read: What Type of Mobile Home Steps do I Need?